Transform Your Kitchen: Unlock Custom Style by Painting Your Old Refrigerator
Is your tired, old refrigerator dragging down the aesthetic of your otherwise beautiful kitchen? Perhaps its almond hue clashes with your new white cabinets, or you simply crave a pop of vibrant color that store-bought appliances rarely offer. The good news is you don't need to break the bank on a brand-new fridge to achieve a custom look. Learning how to paint a refrigerator is a surprisingly simple, low-cost DIY project that can utterly transform your kitchen's design, giving it a unique, personalized flair that reflects your style.
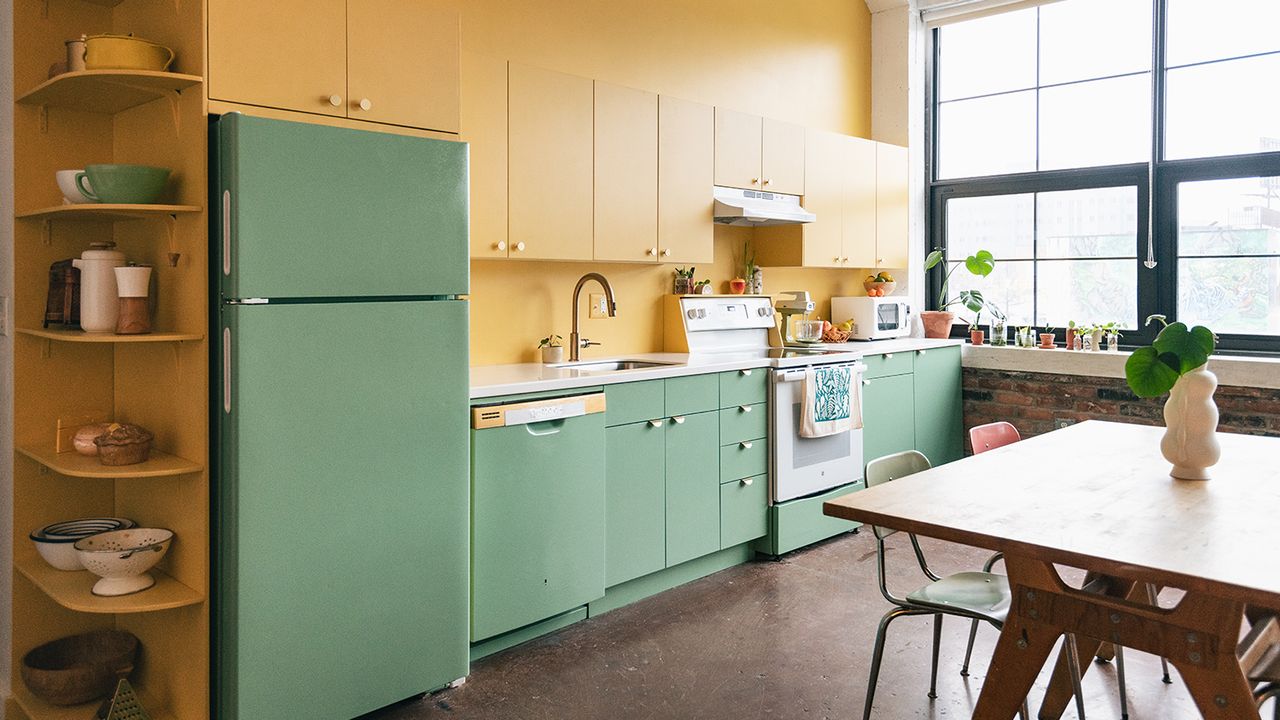
Imagine a kitchen where every element sings in harmony – including your refrigerator. Whether you dream of a retro-inspired, SMEG-style appliance without the hefty price tag, or simply want your fridge to seamlessly blend into a modern, minimalist space, painting is the answer. This comprehensive guide will walk you through everything you need to know about how to paint a refrigerator, from selecting the right materials to perfecting your technique, proving that a custom kitchen design is well within your reach and budget.
Why Paint Your Refrigerator? The Budget-Friendly Makeover You Didn't Know You Needed
The allure of a painted refrigerator goes far beyond just a fresh coat of color. It's a strategic, budget-savvy move that offers a multitude of benefits, making it one of the most impactful DIY kitchen upgrades you can undertake. Here’s why more and more homeowners are choosing to refresh rather than replace:
- Unbeatable Cost-Effectiveness: A new refrigerator can cost hundreds, if not thousands, of dollars. Even a mid-range model will set you back considerably. The entire project of painting your existing fridge, however, can often be completed for under $40, or even less, making it an incredibly economical choice. This stark difference in cost allows you to allocate your budget to other kitchen improvements or simply save money.
- Achieve a Custom, High-End Look for Less: Ever admired those sleek, colorful retro fridges but cringed at their price tags? Painting allows you to replicate these designer looks, like the popular SMEG style, without the premium. You're not just changing a color; you're creating a statement piece that truly complements your kitchen's decor, whether it's a farmhouse chic, industrial, or vibrant eclectic theme.
- Sustainable and Eco-Friendly: By revitalizing your current appliance, you're extending its lifespan and keeping it out of the landfill. This commitment to sustainability is not only good for the planet but also aligns with a mindful, less wasteful lifestyle. It's the ultimate form of upcycling for your kitchen.
- Personalized Expression: Your home should be a reflection of you. Painting your refrigerator offers unparalleled freedom to express your personality. From bold blues and greens to sophisticated grays or even playful patterns using stencils, the color palette and design possibilities are virtually endless. You can truly make your kitchen unique.
- Practicality and Versatility: Don't just think color! With specialized paints, you can even turn your fridge into a functional chalkboard for notes and grocery lists, or a magnetic display for art and photos. This versatility adds another layer of utility to your appliance.
Many homeowners, initially skeptical, have been amazed by the transformative power of appliance paint. It's a testament to the fact that sometimes, the simplest solutions yield the most dramatic results. For more inspiration on achieving specific styles, check out our guide on DIY Retro Refrigerator: Get a SMEG-Style Look for Under $40.
Gathering Your Arsenal: Essential Tools and Materials for Fridge Painting
Before you dive into the transformation, ensure you have all the necessary tools and materials. Quality supplies are key to achieving a professional, long-lasting finish. Here's what you'll need:
- Small Paint Roller (and tray): While a brush can be used, a small foam or short-nap roller is highly recommended. It provides smoother, more even coverage and significantly reduces unsightly brushstrokes, giving you a factory-like finish.
- High-Quality Primer for Metal: This is a non-negotiable step. A good metal-specific primer ensures excellent adhesion for your paint, preventing peeling and chipping down the line. It also creates a uniform base for your chosen color, especially if you're going from a dark to a light shade.
- The Paint: Opt for paint specifically designed for metal or appliances. Acrylic enamel or oil-based enamel paints are excellent choices for their durability and smooth finish. When choosing a texture, consider silk or satin finishes, as they are easier to clean and less prone to showing fingerprints and smudges compared to matte or eggshell. The color choice is entirely yours! Remember that paint colors can appear different under various lighting conditions, so it's wise to test a small swatch if possible or utilize online tools that show color variations.
- Optional: Sandpaper (120-grit medium): If your fridge has imperfections, rust, or an extremely glossy finish, a light sanding with 120-grit sandpaper will create a rougher surface for better paint adhesion. It's not always necessary, but it can improve the final result.
- Optional: Clear Seal Layer/Topcoat: While not strictly essential, applying a clear coat specifically designed for metal or appliances will provide an extra layer of protection, enhancing durability and extending the life of your paint job. It's a worthwhile investment for a longer-lasting, more robust finish.
- Cleaning Supplies: Degreaser (like TSP or a strong kitchen cleaner), sponges, and clean rags are vital for thorough cleaning.
- Drop Cloths/Tarps: Protect your floors and surrounding furniture from paint drips and splatters. Old bed sheets or even plastic trash bags can work in a pinch.
- Painter's Tape: High-quality painter's tape is crucial for masking off hinges, door seals, handles (if not replacing), and any other areas you don't want painted.
- Safety Gear: Gloves, a respiratory mask (especially if working in a less-ventilated area or with strong fumes), and safety glasses are highly recommended.
Your Step-by-Step Guide: How to Paint a Refrigerator Like a Pro
Ready to get started? Follow these steps carefully to ensure a smooth, durable, and professional-looking finish for your newly painted refrigerator.
Step 1: Prepare the Refrigerator for Painting
Preparation is perhaps the most critical stage, dictating the success and longevity of your paint job. Do not rush this step!
- Empty and Unplug: Remove all food and items from the refrigerator and freezer. Unplug the appliance and, if possible, move it to a well-ventilated area like a garage or open patio. If staying in the kitchen, open windows wide and consider using fans.
- Protect Your Surroundings: Lay down drop cloths or tarps beneath and around the fridge to catch any drips or spills. If you're painting it in place, push it slightly away from walls or cabinets to ensure you can access all sides and prevent paint transfer.
- Remove Attachments: If you plan to replace handles, magnets, or trim, remove them now. If keeping them, carefully mask off hinges, door seals, and any other parts you don't want painted using high-quality painter's tape. Press the tape down firmly to prevent bleed-through.
- Thorough Cleaning: This is paramount. Use a strong degreaser or appliance cleaner to scrub down every surface of the fridge. Grease, grime, and food residue will prevent paint adhesion. Rinse thoroughly with clean water and allow it to dry completely. Any lingering moisture will compromise the paint.
- Sanding (If Needed): If your fridge has a very slick surface, rust spots, or minor dents, a light sanding with 120-grit sandpaper will create a "tooth" for the primer to grip onto. Lightly scuff the entire surface, then wipe away all dust with a tack cloth or a damp cloth followed by a dry one. Ensure no dust remains.
Step 2: Prime Time! Applying the Base Layer
With your fridge meticulously prepped, it's time for the primer. This crucial layer ensures your paint adheres properly and offers a uniform base for your chosen color.
- Mix the Primer: Stir your metal-specific primer thoroughly according to the manufacturer's instructions.
- Apply Even Coats: Using your roller, apply thin, even coats of primer to all surfaces you intend to paint. Avoid thick applications, as these can lead to drips and an uneven finish. Pay attention to corners and edges, using a small brush if necessary.
- Allow to Dry: Let the primer dry completely. Check the primer can for specific drying times, but usually, it's a few hours. Resist the urge to rush to the next step; proper drying ensures strong adhesion.
Step 3: The Color Transformation – Painting Your Refrigerator
Now for the exciting part – bringing your custom color to life!
- Mix the Paint: Stir your chosen metal or appliance paint thoroughly.
- First Coat: Apply your first thin, even coat of paint using the roller. Work in sections, maintaining a consistent direction to minimize roller marks. Again, light coats are better than heavy ones to prevent drips.
- Dry Time Between Coats: Allow each coat to dry completely according to the paint manufacturer's instructions. This is crucial for a smooth, durable finish. Rushing this can cause the paint to lift or become uneven.
- Subsequent Coats: Apply additional thin coats (typically 2-3 are sufficient), allowing proper drying time between each. Continue until you achieve full, opaque coverage and your desired depth of color.
Step 4: Optional: Applying a Clear Topcoat
For enhanced durability and a longer-lasting finish, consider adding a clear protective layer.
- Ensure Paint is Dry: Make sure your final paint coat is completely dry and cured before applying a topcoat. This might take 24-48 hours.
- Apply Topcoat: Apply a clear protective topcoat designed for metal or appliances, following the manufacturer's instructions. Use thin, even layers, just as you did with the paint.
- Allow to Cure: This is perhaps the most important drying period. While dry to the touch quickly, paint (and topcoat) often takes several days, or even a week, to fully cure and harden. Avoid heavy use or bumping the fridge during this time to prevent damage to the new finish.
Beyond the Basics: Customization Tips and Longevity
Once your fridge is beautifully painted, you can take its transformation even further. Consider swapping out old handles for new, stylish ones that match your kitchen's hardware. For an extra touch of flair, experiment with stencils to add patterns or designs. You could even use specialty paints to create a magnetic surface or a writable chalkboard panel, adding functionality and fun.
To ensure your newly painted refrigerator remains a stunning focal point for years to come, gentle care is key. Clean the surface with mild soap and water, avoiding harsh abrasive cleaners that could damage the paint finish. For more general advice on refreshing your kitchen appliances, explore our guide on How to Paint Your Refrigerator: Low-Cost Guide to a Kitchen Refresh.
Conclusion
Painting your old refrigerator is a powerful, budget-friendly way to inject new life into your kitchen and achieve a truly custom design. What might seem like a daunting task is, in fact, an accessible DIY project that offers immense satisfaction and significant savings. By following these detailed steps and choosing the right materials, you can transform a dated appliance into a stylish, personalized centerpiece that perfectly complements your home. So, gather your supplies, unleash your creativity, and get ready to fall in love with your "new" custom kitchen!
